Most people who book a concrete scan have a vague sense of what it involves — someone comes to site, runs a piece of equipment over the floor, and tells you what's underneath. What actually happens is more considered than that, and understanding the process is useful whether you're a builder preparing a site, a project manager coordinating trades, or a property owner trying to understand what you're paying for. This article walks through a professional concrete scanning service from first contact to final report — exactly what happens at each stage, why it matters, and what the results actually mean for your project.
A good scan begins before the technician sets foot on site. The preparation phase is where the scope is established and the right equipment is selected — getting this right saves time on the day and produces better results.
Understanding the Brief
When you contact South East Scanning, the first step is understanding exactly what you need to know and why. Are you planning core holes for a plumbing installation? Cutting a new penetration in a suspended slab? Investigating unexplained cracking or moisture? The objective determines which methods will be used, how large an area needs to be covered, and how the results will be presented. The more detail you provide — structure age, suspected contents, what's planned — the more targeted the investigation can be.
Reviewing Available Documentation
If construction drawings or as-built plans are available, the technician will review them before arriving. Plans provide a useful starting reference point — reinforcement layout, known service routes, slab depth — but they are treated as indicative only. Construction rarely matches drawings exactly, and modifications over a building's lifetime are rarely documented comprehensively. Physical scanning always takes precedence over what the drawings show.
 On-Site Preparation — Every Job Starts With a Proper Site Assessment
This is the part most people picture when they think of concrete scanning — and while the equipment does the heavy lifting, the technician's skill in reading and interpreting the data in real time is where the real value lies.
Initial Site Assessment
On arrival, the technician walks the scan area before any equipment is turned on. This initial assessment identifies surface conditions that may affect scan quality — standing water, metallic debris on the surface, proximity to structural steel columns, overhead power lines, and any access constraints. It also allows the technician to confirm the scope with whoever is on site and flag any immediate observations about the structure's condition.
Setting Up the Grid
For most scans, the technician marks a grid across the area to be investigated. Scanning in two perpendicular directions — typically along and across the slab — provides overlapping data that significantly improves the accuracy of element location. The grid spacing depends on the density of what's expected inside the concrete and the precision required for the planned works. For core hole locations, tighter grid spacing provides more confidence around the exact penetration point.
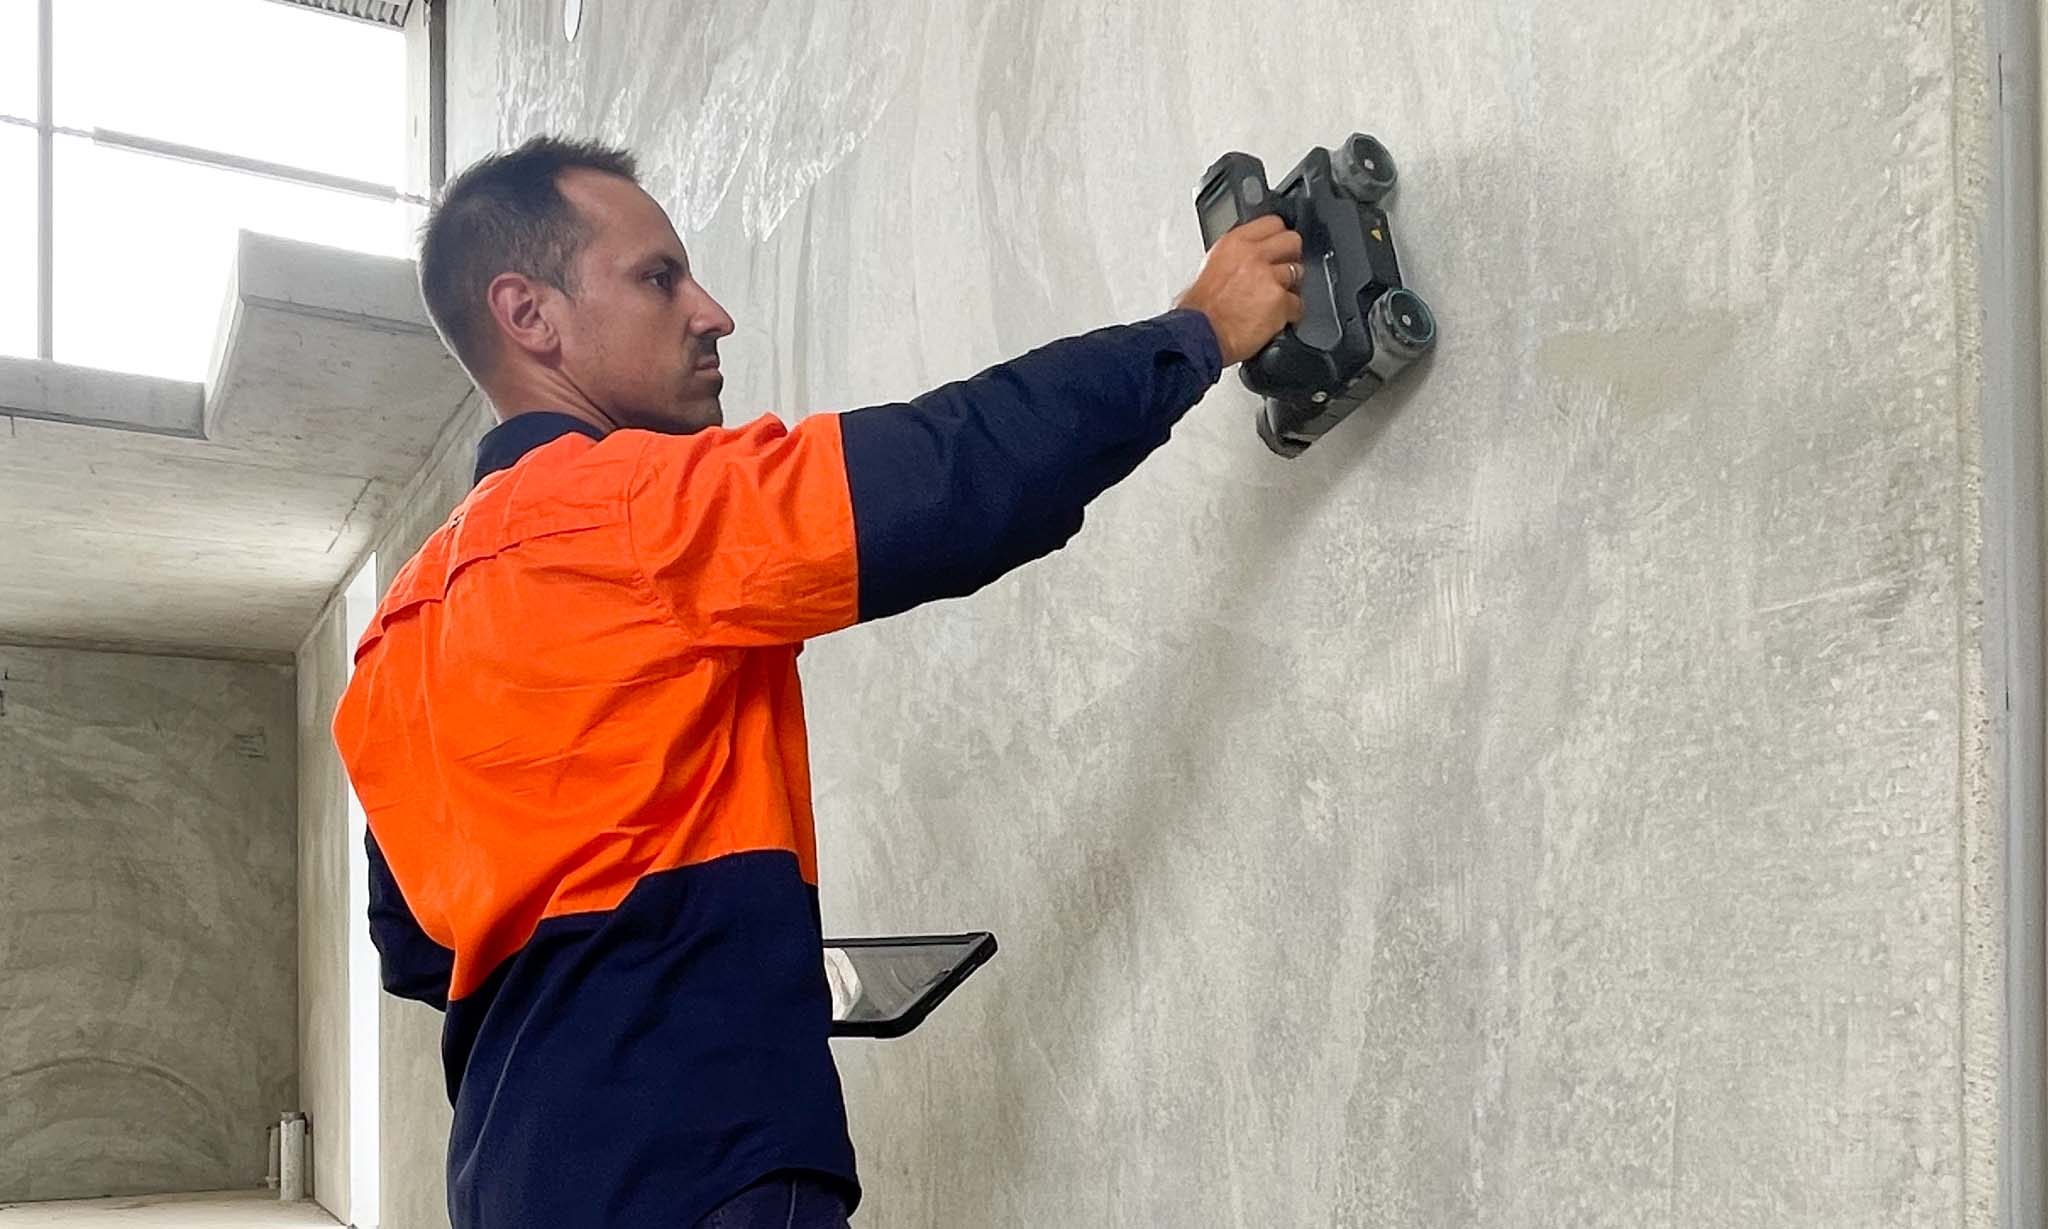
Running the GPR Equipment
Ground Penetrating Radar works by emitting electromagnetic pulses into the concrete and capturing the signals that return from embedded objects. Different materials reflect signals differently — steel produces a strong, characteristic hyperbolic reflection; voids and air pockets produce a different signature; conduits and cables have their own identifiable patterns. The technician pushes the antenna across the surface along each grid line, watching the real-time display as the data builds up beneath them.
Interpreting Results in Real Time
This is where experience makes the difference. Raw GPR data looks like a series of wave patterns on a screen — interpreting those patterns accurately requires a thorough understanding of how different materials behave under radar, how signal quality changes with depth and concrete density, and how to distinguish between a rebar crossing and an embedded conduit. Qualified technicians read this data as they scan, building a mental and physical map of what lies beneath.
 GPR Scanning — Reading the Slab in Real Time
 Marking Safe Zones On Site — Before Any Work Begins
A common misconception is that GPR scanning produces a perfect photograph of the slab interior. The reality is more nuanced — and understanding the capabilities and limitations of the technology helps set appropriate expectations for what a scan will and won't tell you.
Reinforcing Steel
Rebar produces strong, reliable reflections and is consistently the easiest element to locate and map. Depth, spacing, and general layout are all identifiable in most standard slabs.
Post-Tension Cables
PT cables are clearly detectable and critically important to identify before any cutting or drilling. Their location and approximate depth are mapped and marked as priority hazards on site.
Conduits & Services
Electrical conduits, data cables, and other embedded services are detectable, though accuracy depends on conduit material, depth, and surrounding congestion. Non-metallic conduits can be more challenging.
Voids & Anomalies
Air pockets, delamination, and subsurface voids produce identifiable signal patterns. For deeper or more complex void investigation, UPV testing may complement GPR findings.
Depth, Congestion & Signal Quality
GPR scanning is highly effective but not without limitations. Maximum reliable depth is approximately 500mm — beyond that, signal attenuation reduces accuracy. Heavily congested slabs with multiple layers of reinforcement can make it difficult to resolve individual elements at depth. Wet concrete, certain aggregate types, and chloride contamination can also affect signal quality. A skilled technician will always communicate these limitations clearly rather than present uncertain data as confirmed findings.
The scan itself is only useful if the findings are clearly communicated and acted upon. South East Scanning delivers results in two ways — on the surface in real time, and in a formal written report.
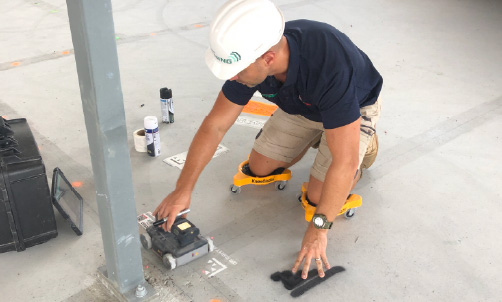
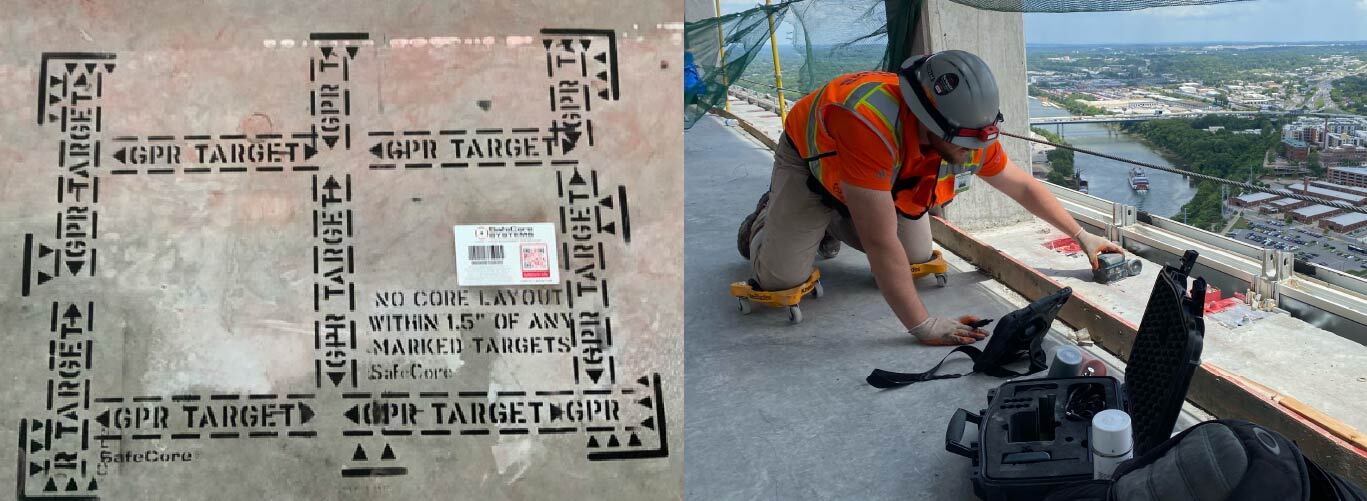
Physical Marking on Site
As elements are identified during the scan, the technician marks their locations directly on the concrete surface using paint or chalk. Rebar lines, PT cable runs, conduit paths, and safe drilling zones are all clearly labelled so every trade working in the area has an immediate, visible reference. This is one of the most practically valuable parts of the service — it means a driller or cutter can work from clear ground markings rather than trying to interpret a plan.
The Engineering Report
After the site visit, a formal report is prepared documenting all findings with annotated diagrams, depth measurements, and a summary of identified elements and any anomalies. South East Scanning provides same-day reporting as standard — meaning your team has everything they need to proceed without waiting. The report serves as a project record and can support engineering assessments, structural investigations, and future maintenance planning. For more complex investigations, reports can be tailored to meet specific engineering or documentation requirements.
 Void Detection — GPR Data Revealing Subsurface Anomalies
Getting the most out of a scanning visit is straightforward. A little preparation on your end helps the technician work efficiently and ensures the results are as complete as possible.
What to Have Ready Before the Technician Arrives
- Clear the scan area of loose materials, stored items, and any pooled water that would prevent direct surface access.
- Share any available construction drawings, as-built plans, or previous investigation reports — even if incomplete, they help contextualise the scan data.
- Have someone on site who can confirm the scope, identify the specific penetration locations being planned, and authorise access to relevant areas.
- Let the technician know if any previous cutting, drilling, or repair work has been carried out — previous penetrations affect the scan picture and need to be accounted for.
- If the project involves concrete cutting or core drilling, have the intended cut locations marked out in advance where possible so scanning can be focused on those areas first.
Our blog on locating rebar, post-tension cables, and conduits before cutting covers the pre-works preparation process in detail and is worth reading alongside this article if you're planning any cutting or drilling work.
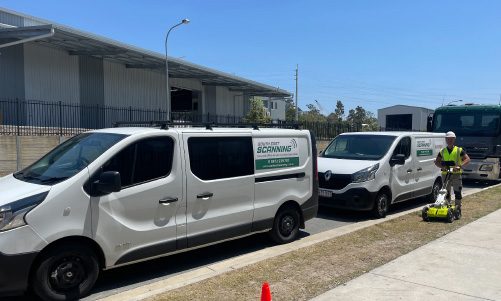
A concrete scan from South East Scanning takes a few hours, delivers results the same day, and gives your team everything they need to work safely and efficiently. Whether you need a targeted scan around a single penetration or a full floor investigation, our CERTLOC-certified technicians are ready to mobilise quickly across South East Queensland.
Get in touch today for a fast, obligation-free quote — or call us directly to talk through what your project needs.